
Mastering MIDI Controllers: Unlocking Creative Possibilities
411 views
You press a key. Nothing happens.
The controller is lit. The USB cable is connected. Your DAW is open. Yet the synth stays silent, the knobs refuse to move, and that supposedly five-minute setup has somehow eaten half an hour.
MIDI controllers aren't difficult because the technology is mysterious. They're difficult because several layers have to agree: the hardware, MIDI ports, DAW preferences, mappings, channels, and sometimes a manufacturer's integration script. Once those pieces make sense, though, a controller stops being just a keyboard with knobs.
It becomes an extension of the way you think about music.
That makes MIDI controllers a particularly useful subject for Melody Beats. The site's focus already bridges music theory, instruments, songwriting, and home-studio production, so this isn't another generic "best MIDI keyboards" roundup. Instead, the goal is to understand what your controller can actually do—and how to build a workflow around it.
A MIDI controller isn't a sound source
Here's the first distinction worth getting right.
MIDI does not carry audio.
A MIDI controller sends performance and control information: note messages, velocity, controller data, pitch bend, program changes, and other MIDI messages. FL Studio's documentation makes the same distinction explicitly: MIDI connections transfer note data and controller movements, while audio from an external synthesizer requires a separate audio connection.
So when you hit middle C on a 49-key controller, you're not transmitting a tiny recording of a piano note. You're effectively saying, "Note 60 started, at this velocity, on this MIDI channel."
Your DAW decides what that means.
That could trigger a piano plugin. A bass synth. A drum rack. A sampler. Or nothing at all if the MIDI input isn't enabled.
This separation is enormously useful. One controller can become dozens of instruments without changing the hardware.
The real power lives beyond the keys
A keyboard is the obvious part. It isn't necessarily the most interesting part.
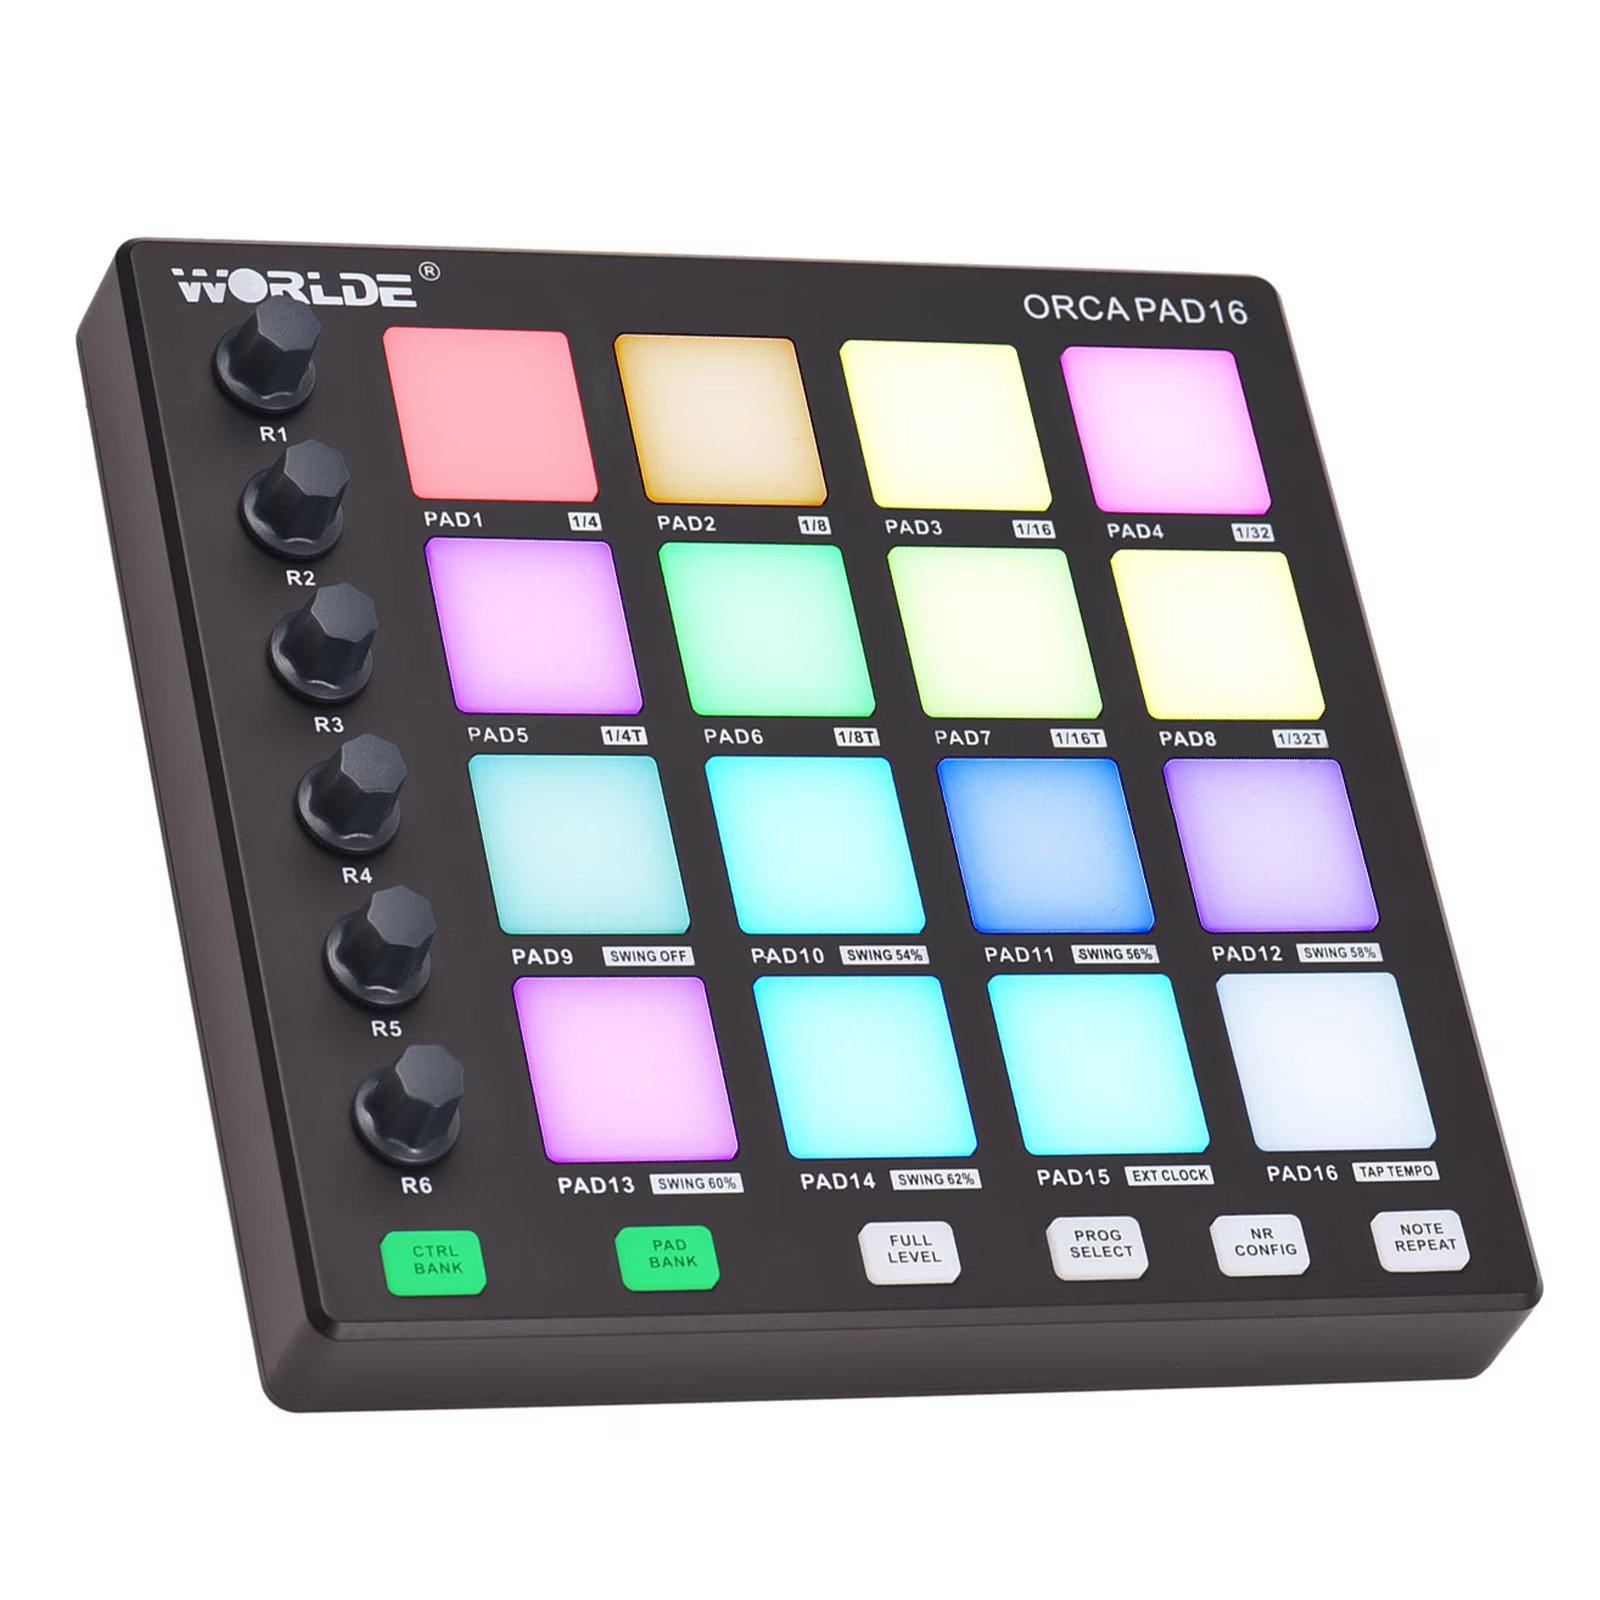
Knobs can control filter cutoff, resonance, reverb send, oscillator mix, or a compressor's threshold. Pads can launch clips or trigger drums. Pitch and modulation controls can add movement that would feel stiff if entered entirely with a mouse.
Then there's aftertouch.
With a compatible instrument, pressing harder after a note has already been triggered can alter vibrato, brightness, volume, or another mapped parameter. Polyphonic aftertouch goes further by allowing pressure information to vary between individual notes.
That difference matters for expressive playing. Imagine holding a four-note chord while increasing pressure on only the top note. A compatible synth can make that single note brighter or more animated without changing the other three.
Novation's current Launchkey MK4 line, for example, combines FSR pads with polyphonic aftertouch, continuous encoders, an OLED display, chord and scale modes, a generative arpeggiator, and a step sequencer designed for Ableton Live workflows.
That's a very different proposition from "a keyboard that sends MIDI."
Pick the controller around your actual workflow
A common mistake is buying the biggest controller that fits the budget.
More controls aren't automatically better.
A bedroom producer who mostly writes bass lines and synth melodies may find a 25- or 49-key controller faster and less intrusive than an 88-key instrument. Someone composing piano parts may feel cramped on 25 keys almost immediately.
Think about the physical action first.
Your main job | Controller features worth prioritizing |
|---|---|
Synth melodies | 25–49 keys, pitch/mod controls, knobs |
Piano-based songwriting | 61–88 keys, better keybed, sustain input |
Beat production | Velocity-sensitive pads, pad banks, sequencing |
Live electronic performance | Clip controls, transport buttons, visual feedback |
Sound design | Multiple encoders, assignable controls, displays |
Expressive performance | Aftertouch, good keybed, pitch/mod controls |
Hardware synth setup | 5-pin MIDI I/O, reliable MIDI routing |
There's a practical detail hiding here: 5-pin MIDI and USB MIDI aren't interchangeable in every setup.
A USB controller is convenient for a computer-based studio. Traditional 5-pin MIDI becomes valuable when you're connecting hardware synths, drum machines, or other MIDI equipment without making the computer the center of everything.
Some controllers can operate as standalone MIDI devices too. Native Instruments, for instance, documents standalone use of its KOMPLETE KONTROL S-Series hardware with external equipment through 5-pin MIDI, depending on the model and power requirements.
That distinction can save you from buying an extra MIDI interface later.
Mapping is where the controller becomes personal
The most useful MIDI setup isn't necessarily the manufacturer's default configuration.
Build your own.
Ableton Live 12 makes this especially straightforward. Enter MIDI Map Mode, select a parameter, then move the physical control you want to assign. Live records the mapping, and its Mapping Browser lets you inspect assigned parameters and their minimum and maximum ranges.
Try this simple arrangement:
Map four knobs to filter cutoff, resonance, reverb send, and delay feedback.
Map four buttons to mute, solo, record-arm, and a favorite effect bypass.
Reserve a few pads for drum hits or clip launching.
Keep transport controls consistent across projects.
Now your left hand can play while your right hand shapes the sound.
There's a catch, and it's an easy one to miss. In Ableton Live, a key or controller assigned to remote control can stop functioning as ordinary MIDI input for a MIDI track. Live filters those mapped messages before they reach the track.
That "Why did my keyboard stop playing?" moment is usually not a broken keyboard.
It's a mapping conflict.
FL Studio has its own wrinkles
FL Studio users get a different set of controls.
Open Options > MIDI Settings or press F10, select the MIDI input, and enable it. FL Studio's MIDI activity indicator should respond when the controller sends data. Supported devices can expose dedicated controller types or MIDI scripts, while generic controllers can be assigned manually.
Port numbers deserve attention here.
For specially supported controllers, Image-Line recommends matching the input and output port numbers when required. It also warns against assigning the same port number to different devices because that can create conflicts.
That's the sort of small configuration detail that gets skipped in beginner tutorials—and then costs an evening of troubleshooting.
FL Studio also includes a Pickup (takeover) mode. If enabled, a linked parameter won't jump until the physical controller reaches the parameter's current value. That's useful when a knob is physically sitting at 20% while the software parameter is at 70%. Without a takeover strategy, the first twist can produce an unpleasant parameter jump.
Small feature. Big difference.
Don't ignore the DAW integration layer
A controller can technically work with almost anything while still feeling much better with one particular DAW.
Logic Pro uses control-surface configuration and supports MIDI controller workflows through macOS MIDI Device Profiles and control-surface plug-ins. Apple also documents automatic assignment options for supported USB MIDI controllers.
Ableton Live emphasizes MIDI Map Mode and control surfaces.
FL Studio combines generic MIDI linking with device-specific scripts and preconfigured controllers. Its supported list includes devices such as Novation Launchpad, Akai APC hardware, Native Instruments MASCHINE controllers, and others.
So don't shop from the hardware page alone.
Check the DAW side.
A controller with 16 knobs isn't necessarily more productive than one with eight if the latter has deeper integration with the software you use every night.
MIDI 2.0 is worth understanding—but don't panic about MIDI 1.0
MIDI 2.0 gets plenty of attention, and for good reason.
The newer protocol extends MIDI 1.0 with higher-resolution control and improved per-note expression. MIDI Capability Inquiry (MIDI-CI) enables compatible devices to discover capabilities and negotiate expanded MIDI features, while Universal MIDI Packet (UMP) provides a common packet format for MIDI 1.0 and MIDI 2.0 messages.
The current MIDI Association core collection lists MIDI 2.0 Specification Overview v1.1, MIDI-CI v1.2.1, Property Exchange v1.2, UMP/MIDI 2.0 Protocol v1.1.2, and the MIDI Clip File Specification v1.0 among its core documents.
But here's the practical bit: MIDI 2.0 does not make your MIDI 1.0 controller obsolete.
The MIDI Association explicitly describes MIDI 2.0 as an extension rather than a replacement, with backward compatibility given high priority.
If your current controller works beautifully, keep using it.
Protocol numbers shouldn't dictate your music.
Turn the controller into a songwriting tool
This is where things get interesting.
Instead of treating MIDI hardware as a faster way to enter notes, use it to change how you compose.
Try writing a chord progression with only three fingers. Then move the modulation wheel while recording. Don't quantize immediately. Listen for the accidental timing variations.
Or set a synth's filter cutoff to a knob and record an eight-bar automation pass while playing the melody. Your hands will often create movement that you'd never bother drawing with a mouse.
A scale mode can also reduce the mechanical barrier between an idea and a playable phrase. Chord modes can generate voicings quickly, while arpeggiators and step sequencers provide rhythmic structures you can manipulate afterward.
The point isn't to let the controller compose for you.
It's to create more ways for musical decisions to happen.
A five-minute troubleshooting routine
When the controller suddenly misbehaves, don't reinstall everything.
Check these first:
Is the correct MIDI input enabled?
Is another application already using the device?
Does the DAW show MIDI activity when you press a key?
Is the track armed or configured to receive MIDI?
Did you accidentally map the key or knob to another function?
Are two devices sharing a conflicting MIDI port?
Does the controller require its manufacturer software or script?
If MIDI activity appears but no instrument sounds, the controller probably isn't the problem.
If the DAW sees the controller but one particular knob behaves strangely, inspect the mapping.
And if everything works except the hardware feedback—LEDs, displays, motorized controls—check MIDI output permissions too. Ableton Live specifically uses the MIDI output Remote setting to send feedback to controllers whose LEDs or motorized faders need to reflect software state.
Troubleshooting gets much easier once you stop treating "MIDI isn't working" as one problem.
There are several layers.
What should you spend?
Current hardware pricing illustrates how wide the market has become. Native Instruments lists the compact KOMPLETE KONTROL M32 at $139, the A25 at $169, A49 at $219, A61 at $279, while its premium S-Series MK3 controllers range from $749 for the S49 to $1,299 for the S88.
Those numbers aren't a recommendation to spend more.
A $139 controller that stays permanently on your desk may generate more music than a $1,299 keyboard that requires rearranging the room before every session.
Spend for the constraint you actually have.
Need weighted piano keys? Pay for the keybed.
Need tactile mixing? Pay for useful controls.
Need expressive synth performance? Look at aftertouch.
Need hardware instruments? Check the MIDI I/O.
Don't pay for a feature you'll never touch.
FAQ
Do MIDI controllers work with any DAW?
Most standard USB MIDI controllers can send basic MIDI data to major DAWs, but the depth of integration varies. Manufacturer-specific scripts, control-surface support, automatic mapping, and feedback can make one controller considerably better suited to a particular DAW.
Do I need an audio interface to use a MIDI keyboard?
Not necessarily. A USB MIDI controller can communicate directly with a computer and software instruments. An audio interface becomes relevant for recording microphones, guitars, external synth audio, or monitoring with dedicated hardware.
Is 49 keys enough for music production?
For many producers, yes. A 49-key controller offers a useful compromise between playing range and desk space. If you're primarily writing piano parts with two-handed voicings, 61 or 88 keys may feel considerably more natural.
Is MIDI 2.0 worth waiting for?
Probably not if you already have a controller you like. MIDI 2.0 expands expression and communication capabilities while retaining compatibility with MIDI 1.0, so an existing controller remains useful.
Why does my MIDI controller work in the DAW but not play an instrument?
Usually, MIDI is reaching the software but isn't routed to the intended instrument track. Check the MIDI input, track arming/input selection, instrument assignment, and any MIDI mappings that might be intercepting the messages.
Make the hardware disappear
The best MIDI controller eventually becomes almost invisible.
You stop thinking about USB ports, MIDI channels, CC numbers, and mapping windows. Your hand simply reaches for a knob because you already know what lives there.
That's the real milestone.
Start small: map one filter, one send, one transport control, and one expressive parameter. Record a few passes without staring at the screen. Then build from what actually felt useful.
A controller becomes powerful when it reflects your musical habits—not when every button is assigned just because it exists.
And that's the next experiment worth trying: build one custom MIDI layout for the kind of music you make most often, then use it for an entire week before changing anything. You'll learn more from that week than from another hundred gear videos.
MIDI controllers
music production
MIDI keyboard
beat making
audio production
Found this helpful? Share it!